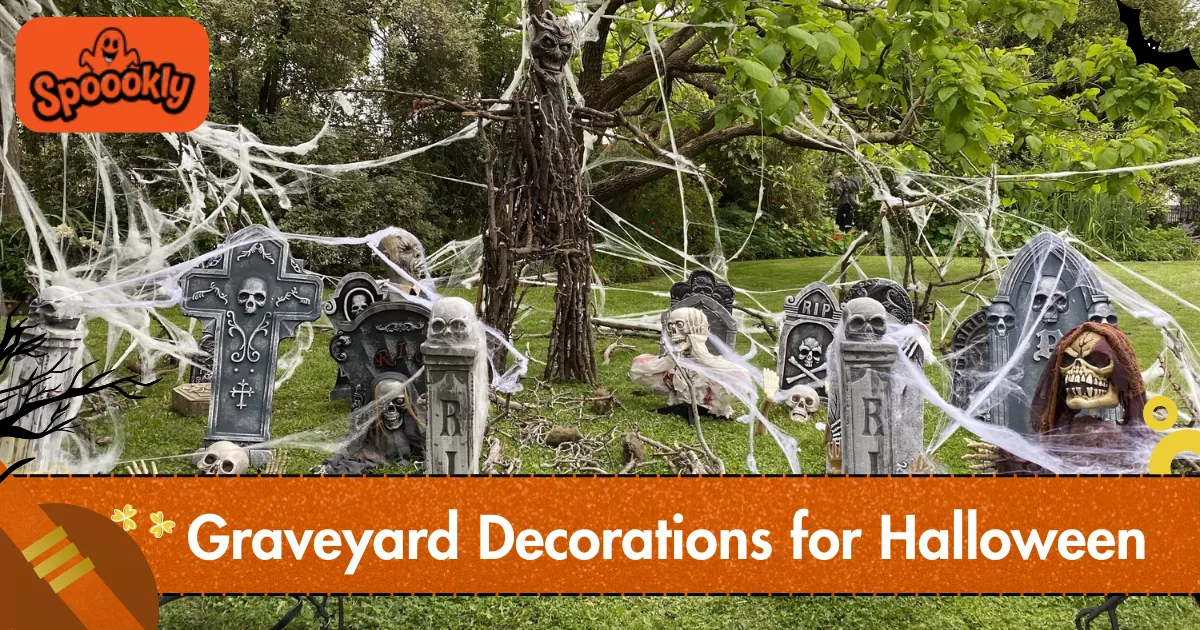
If you’re anything like me, you know Halloween isn’t complete without a spooky graveyard scene in the yard.
Whether it’s for welcoming trick-or-treaters or hosting a haunted house party, a well-designed graveyard can turn your home into the neighborhood’s highlight.
And no, it’s not just about throwing some plastic tombstones on the lawn it’s about creating a layered, atmospheric experience that feels both eerie and exciting.
Planning Your Graveyard Layout
The first step to a perfect graveyard display is planning where each element will go. I always start by sketching a rough layout on paper.
This helps me figure out how much space I have and where to position larger props like tombstones or mausoleums.
Placing key pieces at varying distances creates depth, which is essential if you want your display to feel immersive instead of flat.
Think about sightlines from the street or entrance. The first thing people see should set the tone maybe it’s a looming gate or a flickering lantern.
From there, their eyes should naturally wander deeper into the setup, discovering more details as they move closer. This layering approach makes the scene more engaging and keeps visitors’ attention.
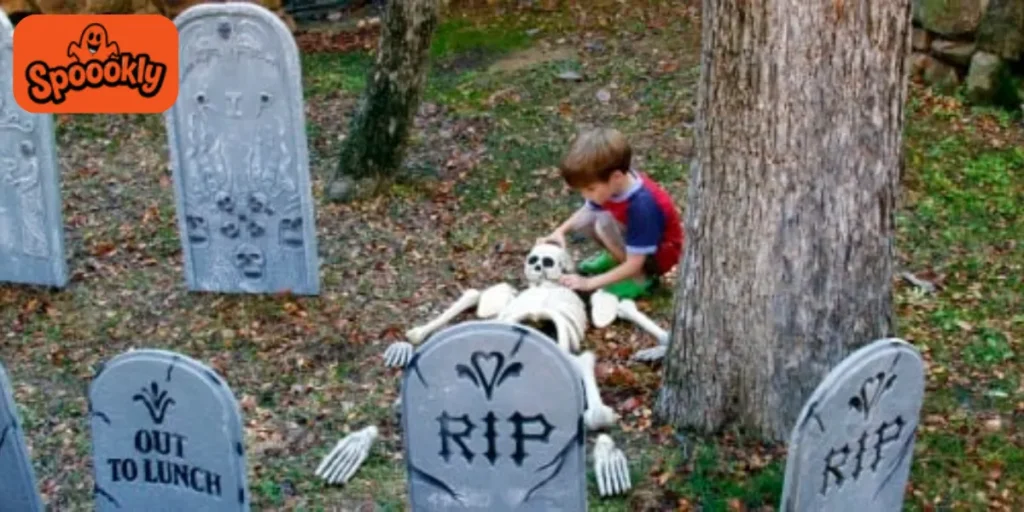
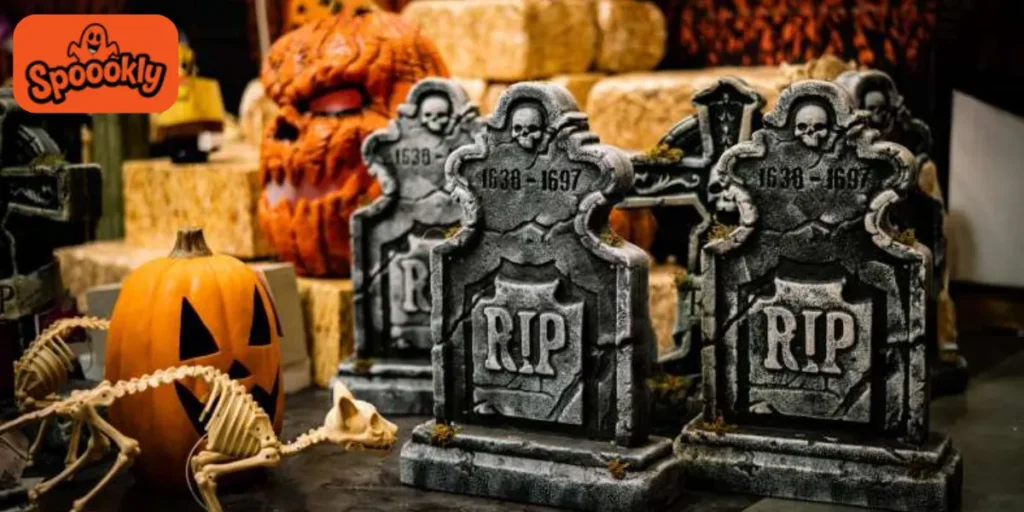
Choosing the Right Tombstones

Tombstones are the backbone of any graveyard scene. I prefer mixing styles a few traditional gray stone markers, some weathered crosses, and maybe one or two ornate, gothic-style monuments.
Foam tombstones are lightweight and affordable, but adding your own paint and texture makes them look far more realistic.
For an aged effect, lightly mist dark gray or moss-green paint over the surface. You can even glue bits of real moss to the edges for that “been here for centuries” vibe.
I’ve found that spacing tombstones irregularly, rather than in perfect rows, makes the scene look more natural after all, real graveyards rarely have perfect symmetry.
Adding a Spooky Entrance
Every great graveyard needs a dramatic entrance. A wrought-iron style gate (real or faux) instantly signals that visitors are stepping into a haunted space.
You can make one from PVC pipes and spray paint if you don’t want to invest in metal. Attach some faux ivy or cobwebs to give it a neglected, abandoned look.
Lighting here is key. A pair of flickering lanterns or LED candles on each side of the gate creates a warm-yet-unsettling glow.
I’ve noticed that low, warm light at the entrance draws people in more effectively than bright, harsh spotlights. The goal is to set the mood before they even step inside.
Ground Cover for Realism
Bare grass can make a graveyard display feel incomplete. I often use old sheets sprayed with brown and green paint to mimic uneven earth, or you can buy rolls of fake grass or dirt mats from Halloween stores.
Scatter dried leaves, twigs, and even small branches across the ground for a more organic look. One trick I use is mounding soil or mulch in front of certain tombstones to give the illusion of fresh graves.
Just make sure it’s secure so wind or pets don’t scatter it all over the driveway. This small detail goes a long way in making the scene believable.
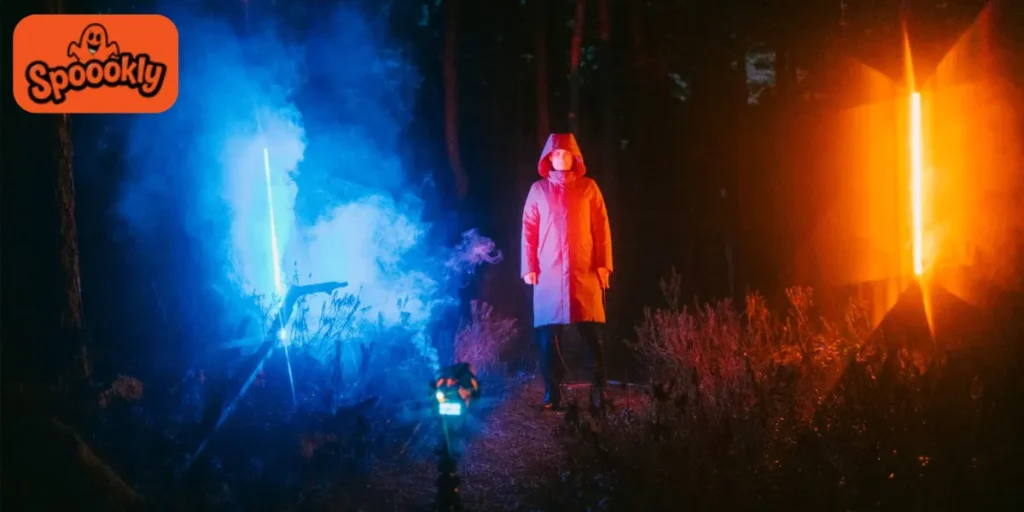
Fog Machines and Atmospheric Effects

Fog instantly transforms an ordinary yard into a mysterious graveyard. I usually place my fog machine low to the ground so the mist creeps along the earth instead of rising too quickly.
If you want the fog to stay low, use ice in a fog chiller or choose a low-lying fog fluid.Be strategic with placement. A fog machine hidden behind tombstones or near the entrance adds surprise when guests first see the mist rolling out.
Just be mindful of wind direction; nothing kills the spooky vibe faster than all your fog blowing toward the neighbor’s garage.
Props That Bring the Scene to Life

Once the core elements are in place, it’s time to add personality. I always think about what will make people pause, lean in, and maybe even take a step back.
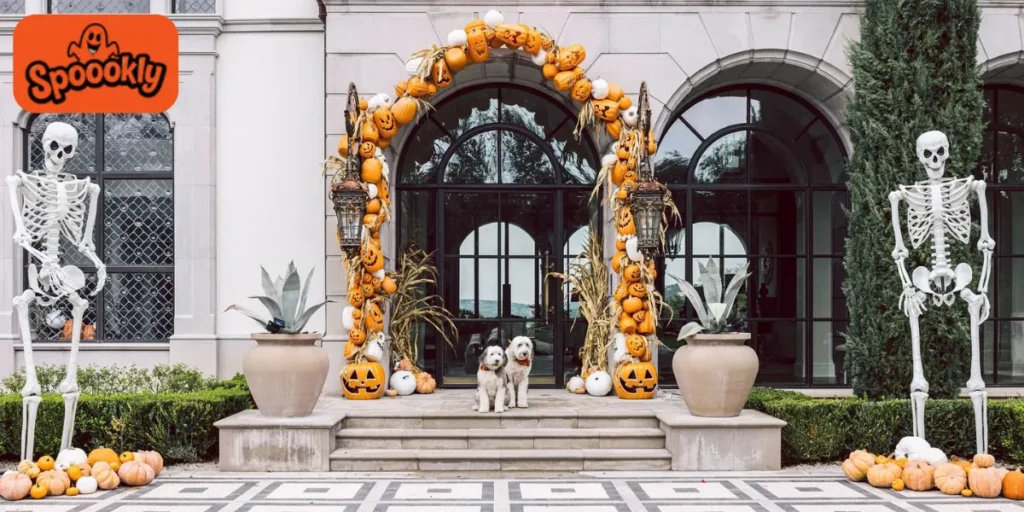
Life-size skeletons are a no-brainer. Pose one leaning against a tombstone or halfway out of a faux grave, hands reaching forward.
I sometimes dress mine in tattered cloaks or old suits from the thrift store to make them feel like they once belonged to someone.Creepy statues, like weeping angels or gargoyles, can also add character.
These don’t have to be expensive lightweight resin versions can be painted and aged just like tombstones. Positioning them at corners or near the entrance gives them a “guardian of the dead” presence.
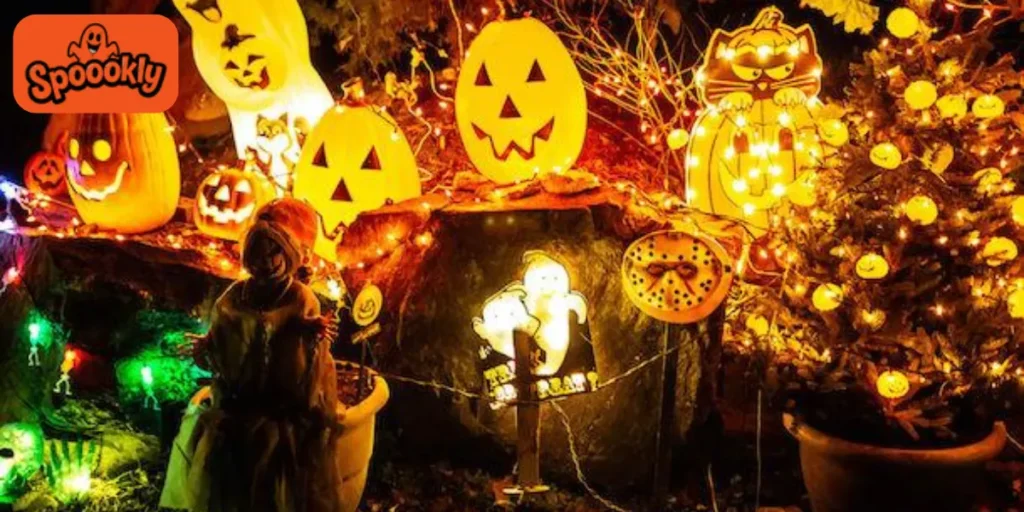
Lighting Tricks for Maximum Impact
Lighting can make or break your graveyard display. I’ve learned that the right balance between shadows and highlights is what creates real tension.
Spotlights with green or purple gels can cast an unnatural glow over tombstones, while hidden ground lights aimed upward can make props look much larger and more ominous. Avoid over-lighting the scene.
A graveyard is supposed to feel mysterious, so leave some areas in shadow. I like to keep key pieces, like the entrance or a central statue, brightly lit while letting the background fade into darkness. This makes visitors wonder what’s lurking just out of view.
Using Sound to Build Atmosphere
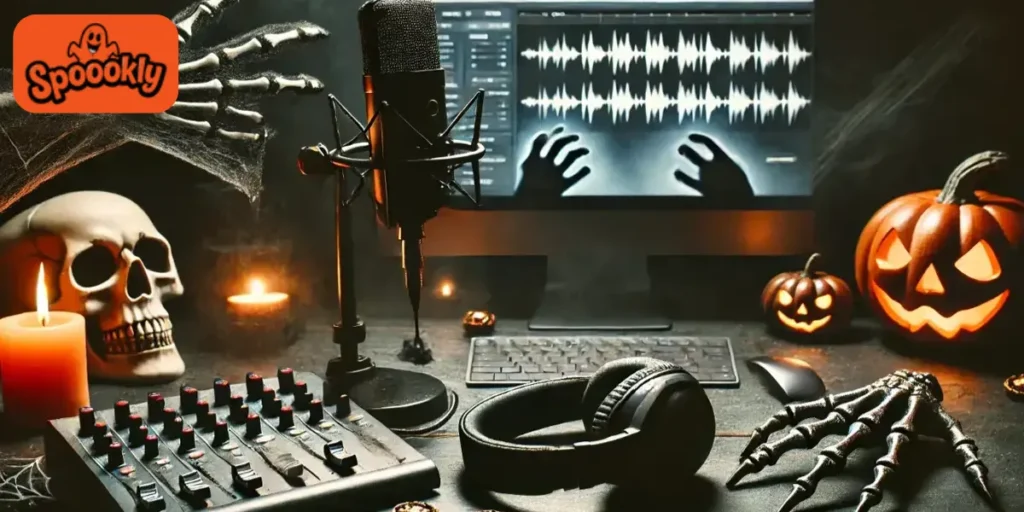
Sound is one of the most underrated tools for creating a haunted feel. Even a simple loop of howling wind and distant thunder can make your graveyard seem alive.
If you want to go further, mix in church bells, faint whispers, or the occasional blood-curdling scream at low volume. I usually hide small Bluetooth speakers around the yard so the sound comes from different directions.
This makes people turn their heads, scanning for movement, which is exactly the kind of tension you want. Just keep the volume low enough so it’s eerie, not overwhelming.
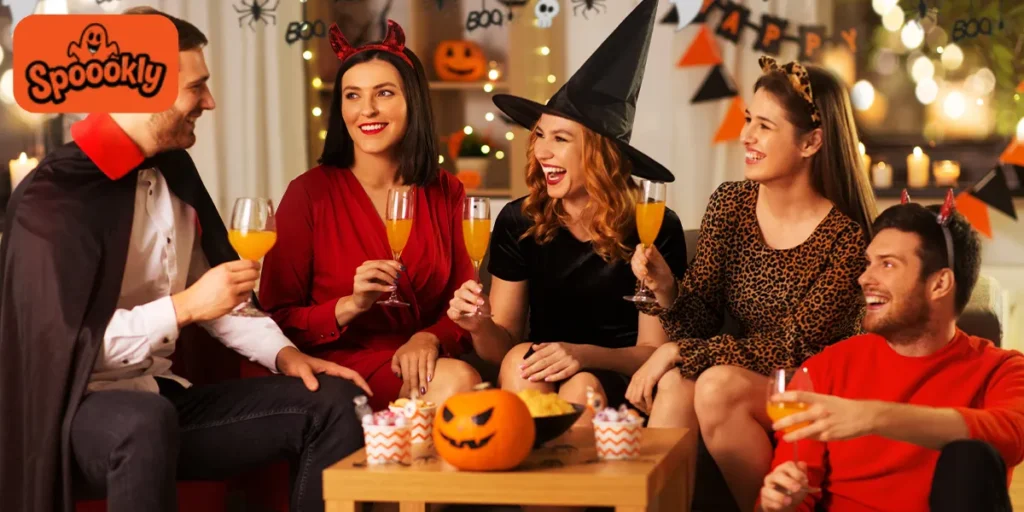
Interactive Elements for Guests
If you’re hosting a party or expecting lots of trick-or-treaters, interactive props keep people engaged. Motion-activated animatronics are great for jump scares imagine a skeleton suddenly moving its head when someone walks by.
You can also create a “find the hidden key” game, where guests have to search the graveyard for small trinkets or clues. One of my favorite touches is a “talking” tombstone.
I hide behind it with a wireless microphone and casually greet passersby. Watching them try to figure out who’s talking is half the fun. It’s low-cost, high-impact, and works every time.
Graveyard Decoration Ideas with Estimated Costs
| Decoration Item | Estimated Cost Range | Effort Level | Pro Tip |
|---|---|---|---|
| Foam Tombstones (set of 5) | $25 – $50 | Low | Add moss and weathering for realism |
| Skeleton (life-size) | $40 – $80 | Medium | Pose creatively for better effect |
| Fog Machine + Fluid | $50 – $100 | Medium | Use ice for low-lying fog |
| LED Spotlights (4-pack) | $30 – $60 | Low | Use colored gels for eerie lighting |
| Animatronic Prop | $100 – $250 | High | Place in dim corners for surprise factor |
Creating Depth with Layers
Flat displays feel fake. I always use multiple layers tall tombstones in the back, mid-height props in the middle, and smaller items like bones or lanterns in the front.
This not only adds realism but also makes the scene more photogenic for visitors who want to snap a picture. You can also play with height by using small crates or stands under certain props, then hiding them with fabric or foliage.
A little elevation variety goes a long way toward making the graveyard look less like a store display and more like an actual burial ground.
Themed Graveyard Setups
One of the best ways to stand out is to give your graveyard a specific theme. I’ve tried a pirate graveyard before, complete with treasure chests, weathered anchors, and skeletons in tricorn hats.
It got way more attention than a generic setup because it told a story.
Themes also help you stay consistent with colors, props, and even sound effects.
Another great option is a Victorian-style graveyard with wrought iron fencing, ornate tombstones, and black lace drapes.
Add an old wooden coffin or two for extra authenticity. Guests love when everything ties together, and it makes the whole display more memorable.
Weatherproofing Your Decorations
Nothing’s worse than setting up your perfect graveyard only for the weather to ruin it. I’ve learned to spray foam props with a clear outdoor sealant to protect against rain.
For fabrics, a waterproofing spray works wonders. Always secure lightweight pieces with stakes or sandbags strong winds can send foam tombstones halfway down the street.
If you use electrical elements like lights or animatronics, make sure they’re outdoor-rated and keep connections off the ground. I’ve even wrapped cords in plastic tubing to keep them safe from water and curious critters.
Safety Tips for a Spooky Yet Safe Display
It’s easy to get caught up in the atmosphere and forget about safety. I keep pathways well-lit, even if the rest of the graveyard is dark. This ensures no one trips over a stray bone or wire. Avoid props with sharp edges in areas where kids might wander.
For fog machines or candles, check that they’re positioned away from flammable materials. I stick to LED candles for most setups they’re safer, last longer, and still look convincing. If you do use real fire in lanterns, monitor it closely at all times.
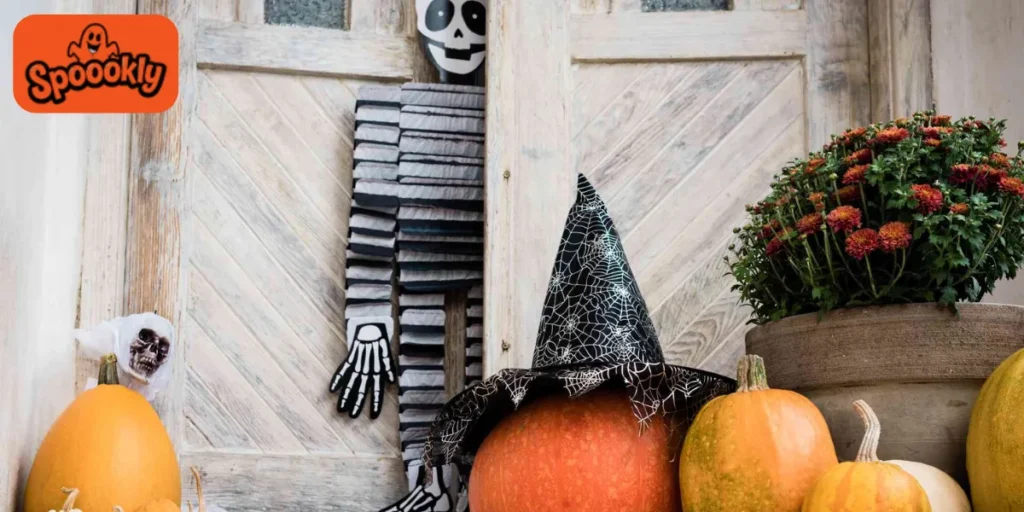
Adding Personal Touches
Your graveyard should feel like it’s yours, not just something copied from a Halloween store catalog. I like adding custom-engraved foam tombstones with silly or spooky epitaphs.
One of my favorites read: “Ben Better Finally Resting”. It always got a laugh.
You can also add family photos (aged and weathered) to mausoleum walls for a personal twist.
I sometimes sneak in little Easter eggs, like a tiny skeleton hand holding a candy bar behind a tombstone. Kids spot it, and it makes their night. These details keep people coming back year after year to see what’s new.
Creative Twists to Surprise Visitors
Surprises keep your graveyard fresh. Last year, I used a projector to cast ghostly silhouettes across my house wall, making it look like spirits were moving behind the windows.
Another time, I set up a small “dig site” with a fake archaeologist skeleton, tools scattered around, and an open coffin nearby.
Think about movement a swaying lantern, a flapping bat, or a skeleton that slowly turns its head. Even small motion can grab attention in a static scene.
Conclusion
Creating the perfect Halloween graveyard isn’t just about piling on creepy props. It’s about crafting a space that feels alive or perhaps undead. From carefully placed tombstones to atmospheric lighting and sound, every detail matters.
The goal is to make your guests feel like they’ve stepped into another world, even if it’s just for a few minutes.
When you blend creativity, planning, and a few personal touches, your graveyard can be the one everyone remembers. And who knows? You might just start a neighborhood tradition that grows bigger and better every year.
FAQs
I usually start about a week before Halloween. This gives me time to fix anything that doesn’t work and lets neighbors enjoy the display longer.
Absolutely. Foam board, a hot knife, and some paint are all you need. Homemade tombstones often look better than store-bought because you can customize them.
Use garden stakes, sandbags, or even tent pegs hidden in the ground. For lighter props, zip ties are your best friend.
Yes. Thrift stores, dollar stores, and DIY projects can give you an amazing setup for under $100 if you’re willing to put in some creative work.
Most are safe if used outdoors and away from direct inhalation. Always read the instructions and keep cords out of walking paths.